Table of Contents
- Introduction: Installation Determines Boiler Life
- Phase 1: Site Preparation & Foundation
- Phase 2: Equipment Placement & Leveling
- Phase 3: Piping & Valve Installation
- Phase 4: Electrical & Control System
- Phase 5: Fuel System & Burner Setup
- Phase 6: Hydrostatic Test & Safety Checks
- Phase 7: First Fire & Commissioning
- Phase 8: Operator Training & Handover
- 8-Week Installation Checklist
- FAQ
- Conclusion
Even the best-manufactured boiler will underperform — or fail early — if installation and commissioning are rushed. This guide walks through the eight phases of a professional boiler installation, based on EPCB's field experience across dozens of countries.
Introduction: Installation Determines Boiler Life
Industry data and manufacturer experience agree: a large share of premature boiler failures trace back to installation errors — poor foundation leveling, inadequate piping support, incorrect safety valve settings, or contamination during startup. A disciplined, documented installation process protects your investment and your production uptime.
Phase 1: Site Preparation & Foundation
- Location review: Confirm boiler room clearances per the general arrangement drawing — front, side and top clearance for access and maintenance.
- Foundation: Cast a concrete foundation per the manufacturer's drawing, with correct dimensions, levelness (±2mm over the base) and anchor bolt positions.
- Ventilation: Ensure combustion air openings and flue routing comply with local codes.
- Utilities: Pre-position water supply, fuel, and power connection points per the P&ID.
- Drainage: Provide boiler blowdown drainage and floor drains.
Phase 2: Equipment Placement & Leveling
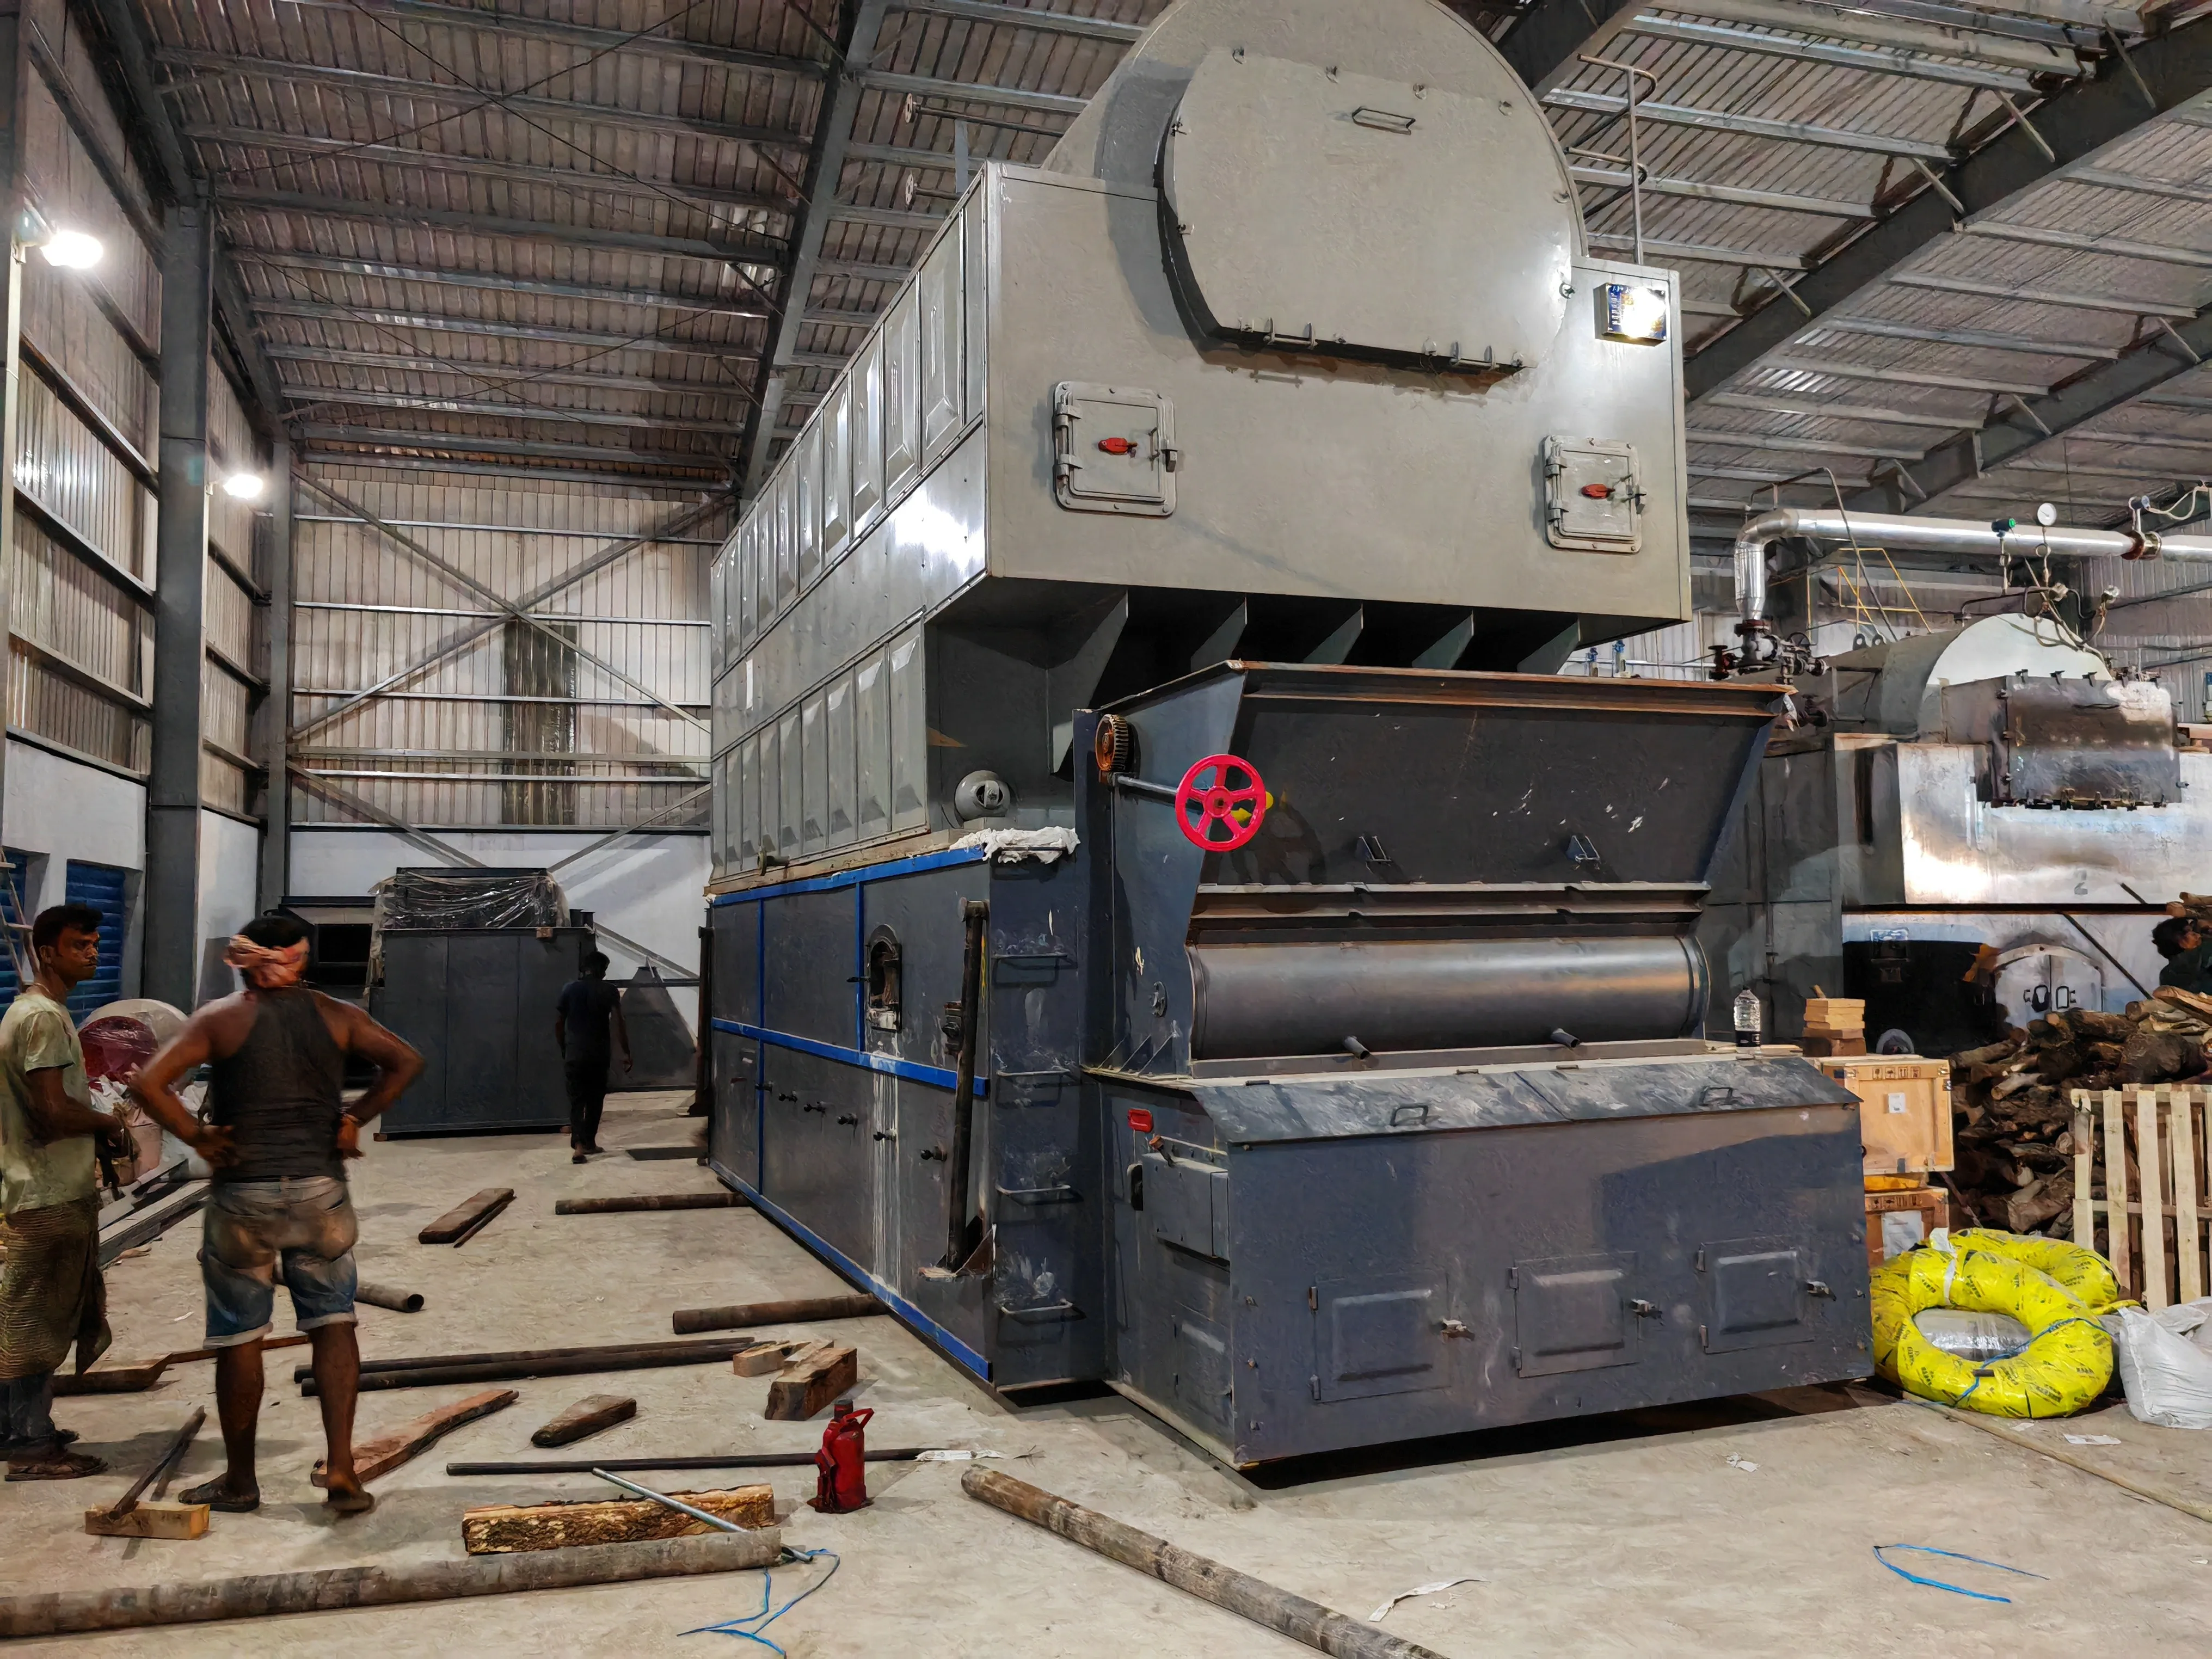
- Lift and place the boiler onto the foundation using certified lifting points only.
- Level the boiler shell longitudinally and transversely (typically within ±3mm/m).
- For fire-tube boilers, maintain the slight forward tilt for steam space drainage as per drawing.
- Tighten anchor bolts after final leveling; grout if required.
Phase 3: Piping & Valve Installation
- Steam line: Install with expansion loops/compensators; slope for drainage; insulate after testing.
- Feedwater line: Connect to the feed pump with a check valve and isolation valve; install a blowdown valve.
- Safety valves: Install per drawing; never oversize the discharge pipe or add shut-off valves.
- Flue system: Connect the chimney/stack with proper draft; install the dust collector per design.
- Support all piping independently — never suspend pipe weight from the boiler.
Phase 4: Electrical & Control System
- Wire the control panel, burners, pumps, and instrumentation per the electrical schematic.
- Verify grounding and correct phase rotation for three-phase motors.
- Install water level sensors, pressure transmitters and interlocks per the P&ID.
- Test all interlocks: low water cutoff, high pressure shutdown, flame failure.
- Confirm the burner control sequence with the manufacturer's programming.
Phase 5: Fuel System & Burner Setup
- Gas systems: Verify gas train components, pressure settings, leak testing of the entire gas line, and gas valve tightness.
- Oil systems: Check tank, heater, filter, pump pressure, and atomization.
- Solid fuel: Verify stoker/grate assembly, ash removal, and feeder calibration.
- Set burner air/fuel ratio per commissioning data from the manufacturer.
Phase 6: Hydrostatic Test & Safety Checks
The hydrostatic test is a mandatory safety step: fill the boiler with water, vent air, and pressurize to 1.25–1.5× the design pressure (per code and manufacturer instructions). Hold pressure and inspect all welds, joints and fittings for leakage. Record the test certificate. Verify safety valve set pressures, gauge calibration, and water level devices.
Phase 7: First Fire & Commissioning
- Confirm water level at normal level; boiler clean of debris.
- Purge the furnace per the burner program to remove any residual fuel or gas.
- Light the burner at minimum firing rate; monitor flame stability.
- Raise pressure gradually (typical rule: not more than ~0.1 MPa per few minutes for large units) while checking thermal expansion.
- Verify steam pressure control, safety valve action at set pressure, and water level control response.
- Test automatic load response and record commissioning parameters.
Phase 8: Operator Training & Handover
- Train operators on normal operation, alarms, emergency shutdown, and daily checks.
- Hand over documents: commissioning report, hydrostatic test certificate, safety valve records, operating manual, as-built drawings, warranty certificate.
- Agree on spare parts stock and after-sales support channels.
- Schedule the first routine inspection per local regulations.
8-Week Installation Checklist
| Week | Key Activities | Deliverable |
|---|---|---|
| 1 | Site survey, foundation casting, utilities preparation | Foundation ready |
| 2 | Equipment delivery, placement, leveling | Boiler placed & leveled |
| 3 | Steam/water piping, valve installation | Piping complete |
| 4 | Electrical wiring, control panel, interlocks | Electrical complete |
| 5 | Fuel system, burner setup, gas leak test | Fuel system ready |
| 6 | Hydrostatic test, safety valve calibration | Test certificates |
| 7 | First fire, pressure raising, load testing | Commissioning report |
| 8 | Training, documentation handover, acceptance | Signed acceptance |
Skid-mounted systems compress this timeline dramatically — EPCB's skid-mounted boiler rooms arrive pre-piped and pre-wired, enabling commissioning within days.
FAQ
Q: How long does industrial boiler installation take?
Typically 3-8 weeks depending on size and site readiness: 1-2 weeks site/foundation, 1-2 weeks placement and piping, 1-2 weeks electrical, testing and commissioning. Skid-mounted systems can be commissioned in 1-2 days after connection.
Q: What is the hydrostatic test?
A mandatory safety test filling the boiler with water and pressurizing to 1.25-1.5× design pressure to verify pressure-part integrity before first firing.
Q: What checks are needed before first fire?
Water level, fuel supply and burner settings, gas tightness, safety valve settings, electrical connections and interlocks, draft conditions — verified with a pre-start checklist.
Q: Does EPCB provide installation and commissioning services?
Yes. EPCB provides on-site installation supervision and commissioning worldwide, with reference projects across Thailand, Uzbekistan, Pakistan, Vietnam, Brazil, Colombia and Russia.
Q: What documents are delivered after commissioning?
Commissioning report, hydrostatic test certificate, safety valve records, operating manual, maintenance schedule, as-built drawings and warranty certificate.
Conclusion
A professional installation process protects your boiler investment, maximizes efficiency and prevents early failures. Whether you install with your own team or request manufacturer supervision, following a documented 8-phase approach is the difference between reliable decades of service and recurring problems.
EPCB Boiler supports clients end-to-end: equipment supply, installation supervision, commissioning, and operator training. Contact our team to discuss your project — and see our project gallery for installations across the globe.